Showing posts with label Hair. Show all posts

Sunday, February 16, 2014

How To: Easy Braided Half-up, Half-down Hairstyle

Today's tutorial is a cute and easy half-up, half-down hairstyle that you can wear for any occasion. Like any hairstyle, you can dress it up or down. I personally feel like this is a cute one to wear to church. How fitting since today is the Lord's day! :) 

If you went to church this morning without any time to fix your hair, I am here to save the day in time for services for tonight! Just follow this simple tutorial. Go from meh to magnificent!


What You'll Need:
- Brush
- Bobby Pins
- Hair Elastics
- Hairspray (optional, but recommended)

Step 1: Take a section of hair starting from the top of the ear.

Step 2: Braid a regular 3 strand braid for both sections and tie off the ends with an elastic.

Step 3: Grab your bobby pins and pin one of your braids around your head. Make sure you hide the elastic at the end the best you can.

Step 4: Do the same thing for the other braid. Wrap the other one around your head as well, but directly under the first braid. Pin it securely with bobby pins.  Try the best you can to hide the bobby pins. Spray that gorge mane with hairspray and you're good to go!

Beautiful! Now, go to church tonight with a cute new hairstyle! ;)


Saturday, February 15, 2014

3 Easy Updos

Today, I'm giving you 3 easy and quick hair tutorials. These hairstyles are casual, but can be dressed up as well. You can add any accessories you'd like. They're also perfect for that hot summer day that will be here before you know it! They are super simple to achieve and perfect for that it-looks-like-I-tried-but-didn't kind of look. hahaha


What You'll Need:
- Hair Ties
- Hair Elastics
- Brush
- Bobby Pins
- Hairspray (optional, but recommended) 

Step 1: Brush your hair and gather it into a ponytail. Smooth out any bumps and tie it with a hair band.

Step 2: Split your pony tail into two sections.

Step 3: Braid a regular 3 strand braid on both sections of hair. Tie the ends with elastics.

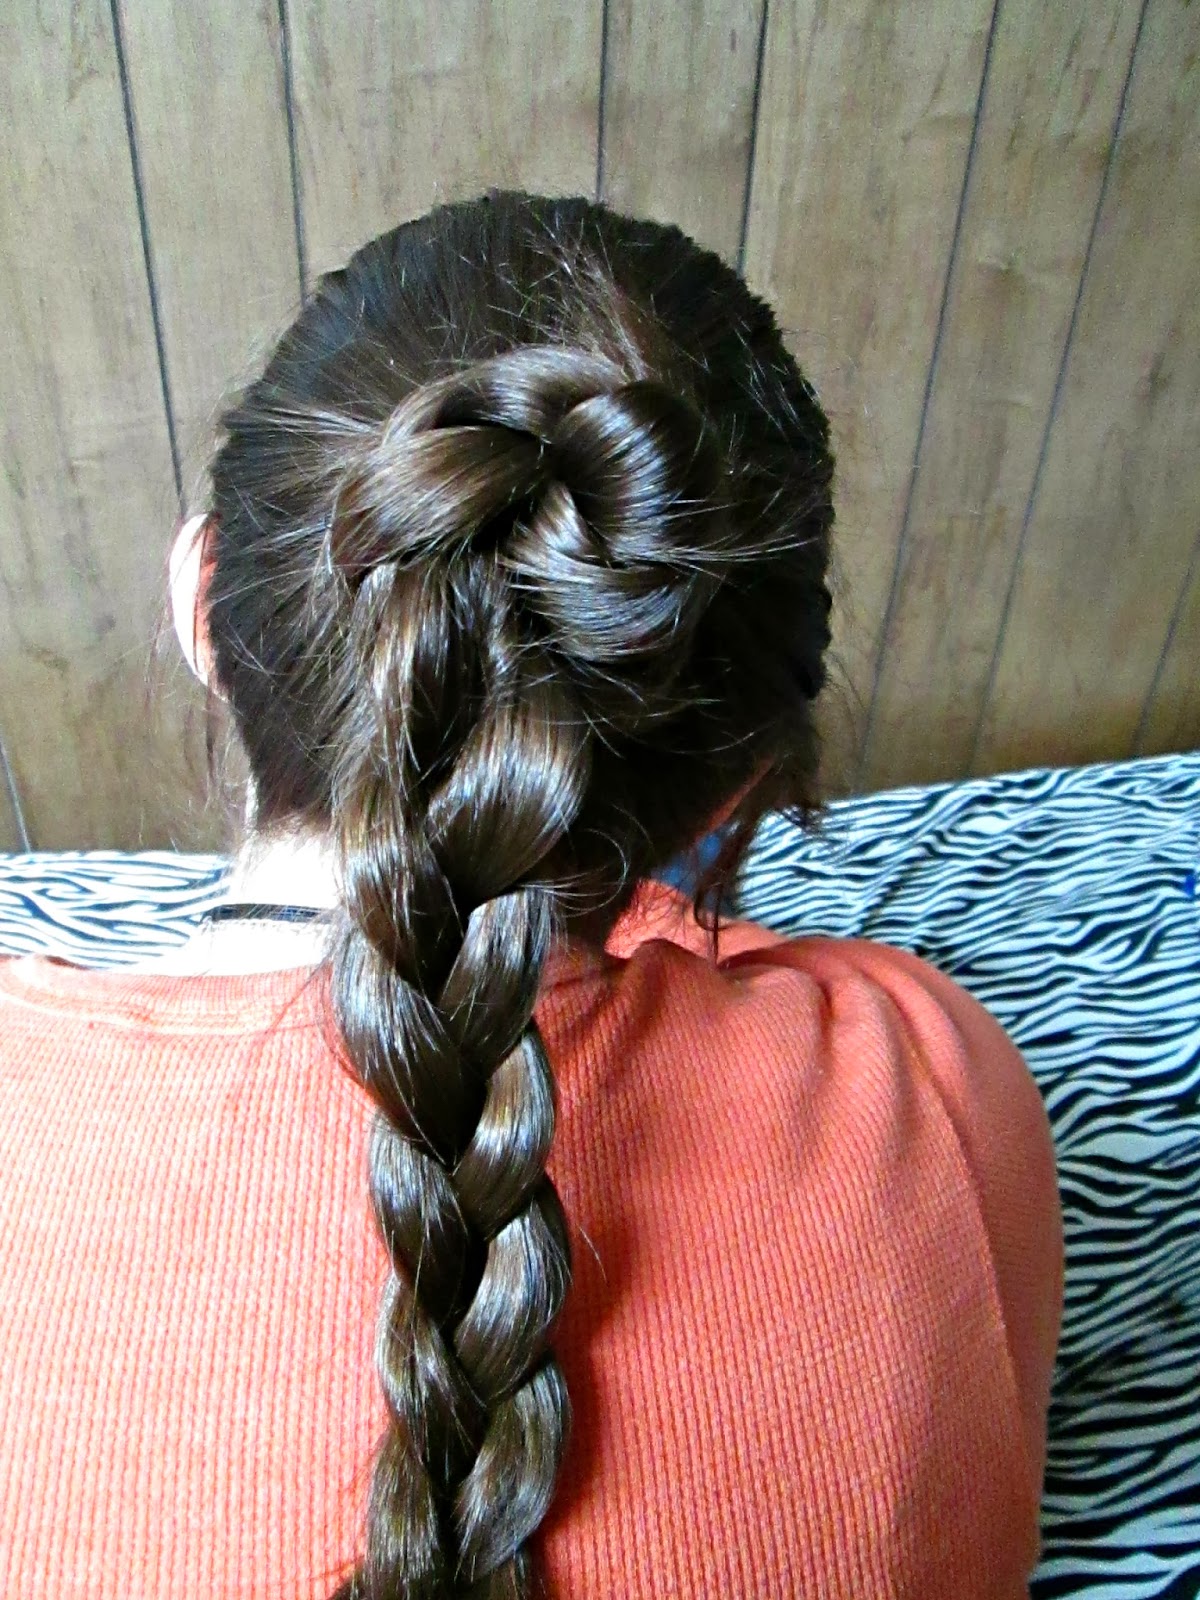
Step 4: Wrap one of the braids around the base of the ponytail and pin it securely to your head.

Try to hide the bobby pins the best you can.

Step 5: Wrap the other braid around the base as well and secure it with bobby pins. Again, try the best you can to keep them hidden. Spray some hairspray to lock in your style.

 Viola! You're done!


Step 1: Brush your hair and put your hair up in a ponytail.

Step 2: Take your elastics and wrap it around your hair every 3 or so inches all the way to the end of the hair.

This is what it should look like all the way down the ponytail.

Step 3: Pull the hair between the elastics gently to create a "bubble" effect. You can pull it as much or as little as you want. You can make it really thick and full, or more on the sleek and proper side. Now, you can hairspray that gorge pony, and call it a day!

You're Finished!


Step 1: Brush hair and pull it into a ponytail.

Step 2: Fishtail your hair all the way down the hair shaft. If you don't know how to do a fishtail braid, you can CLICK HERE to my tutorial.

Step 3: Pull the braid gently. This will make the hair thicker and more casual and "messy." You may hairspray your hair to lock in the style.

That's right girl, you're done! You are now free to accessorize it with something cute like a bow that I used here.


All I did here, was wrap the fishtail braid that we just created around the base of the ponytail and pinned it with bobby pins. I stuck the bow at the top toward the side of the head. Super cute!

Let me know if you've tried any of these hairstyles and let me know which one is your favorite! :)

How To: Fishtail Braid

I always thought that the Fishtail Braid looked really, really complicated. What I thought would be one of the hardest braids to learn, is actually one of the easiest. Once you get the hang of it, it's as easy as a regular old braid! I can now do it without even looking in a mirror!


What You'll Need:
- Hair tie or elastic
- Hairbrush
- Spray bottle filled with water (optional)

Step 1: Brush your hair. This is a very important step! It's the first thing you should always do before attempting any kind of hairstyle. It prevents tangles, broken hairs, and messy hairdos. After you've brushed your hair, you can lightly spray the hair with water to make it slightly damp if you'd like. This will make it easier to braid the hair. Do not over do it! You just want the hair to be damp, not soaking wet. I didn't have a spray bottle available to me, so I just braided with dry hair.

Step 2: Split your hair into two sections.

Step 3: Take a smaller section of hair from the bigger section of hair, and cross it over to bring it to the other side.

Step 4: Take a small section of hair from the other side, and cross it over to bring it to the other side. Continue this step all the way to the bottom.

This is what it looks like when you have fishtailed halfway down the hair shaft.

You're done! You've done the fishtail braid! With some practice and patience, you can easily achieve this hairstyle. Just keep trying! Don't give up!

Here's a closeup of the fishtail braid.

I just wanted to say a huge thank you to my sister, Liz, for being my hair model! 

LinkWithin

Related Posts Plugin for WordPress, Blogger...